RancherOS is a Linux distribution designed for running Docker containers. While there is an AMI (Amazon Machine Image) available in the AWS Marketplace, setting up the security group and other configurations can be tricky. This guide serves as the missing manual.

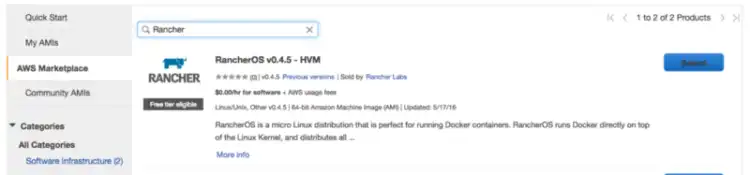
1. Launch an Instance with the Rancher AMI
Assuming you already have a .pem key, launch an instance and select the Rancher AMI.
2. Connect to Your Instance
Open a terminal and connect to your instance. Note that you should use rancher as the user, rather than root:
$ ssh -i "XXX.pem" rancher@ec2-XX-XXX-XX-XX.ap-southeast-1.compute.amazonaws.com3. Verify the Rancher Server
The Rancher server should already be running. You can check by executing:
$ docker psIf it's not running, download and start the server using Docker:
$ docker run -d -p 8080:8080 rancher/server4. Configure Security Groups
Navigate to the Security Group tab in the AWS console and create a new one with inbound rules:

The rules should include:
- Ports 22, 2376, and 8080/tcp for Docker Machine to provision hosts
- Ports 500 and 4500/udp for the Rancher network
- Ports 9345 and 9346/tcp for the UI
- Port 80/tcp for the site you deploy
5. Assign the New Security Group
Select the instance, then navigate to Actions > Networking > Change Security Group. Check the new Security Group ID and assign it to your instance.
6. Access the Rancher UI
Open a browser and navigate to the Public DNS with port 8080, such as http://ec2-XX-XXX-XX-XX.ap-southeast-1.compute.amazonaws.com:8080.
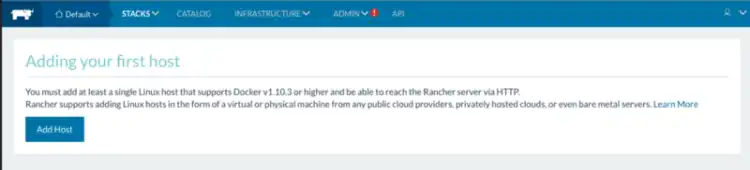
You should see the Rancher UI:
7. Add Host Using AWS Credentials
To add a host with Amazon EC2, you'll need the Access Key and Secret Key. If you don’t have them, go to the AWS Console > IAM (Identity and Access Management) > Create New Users. Download the credentials.csv file.
Next, go to the Groups tab > Group Actions > Add Users to Group. Attach the policy by searching for "AmazonEC2FullAccess", check the box, and apply the changes.
8. Enter AWS Credentials in Rancher UI
Return to the Rancher UI and enter the newly generated Access Key and Secret Key from the credentials.csv file.

Finally, fill out the necessary information and you'll see your host up and running.
Postscript
To manage Docker's secret API keys, certificate files, and production configuration, you can try the beta Vault integration, depending on your specific needs.