Survival Tips for Non-Korean Speakers in Busan and Vicinity
Hello and welcome to Continuous Improvement! I'm your host, Victor. Today, we're going to whisk you away to the breathtaking city of Busan in South Korea. Now, I know what you're thinking: "Why Busan? Isn't Seoul the place to be?" Well, my friends, Busan is a hidden gem that deserves some love. So, get your backpack ready, because we're about to embark on an exciting weekend getaway!
First things first, let's talk about making new friends. Language barriers can be real hurdles, but fear not! The people of Busan are known for their kindness and hospitality. Even if you don't speak Korean, a warm smile and a friendly greeting can go a long way. Trust me, I've had countless conversations using pictures and gestures. Oh, and be sure to download the Kakao Talk app to stay connected!
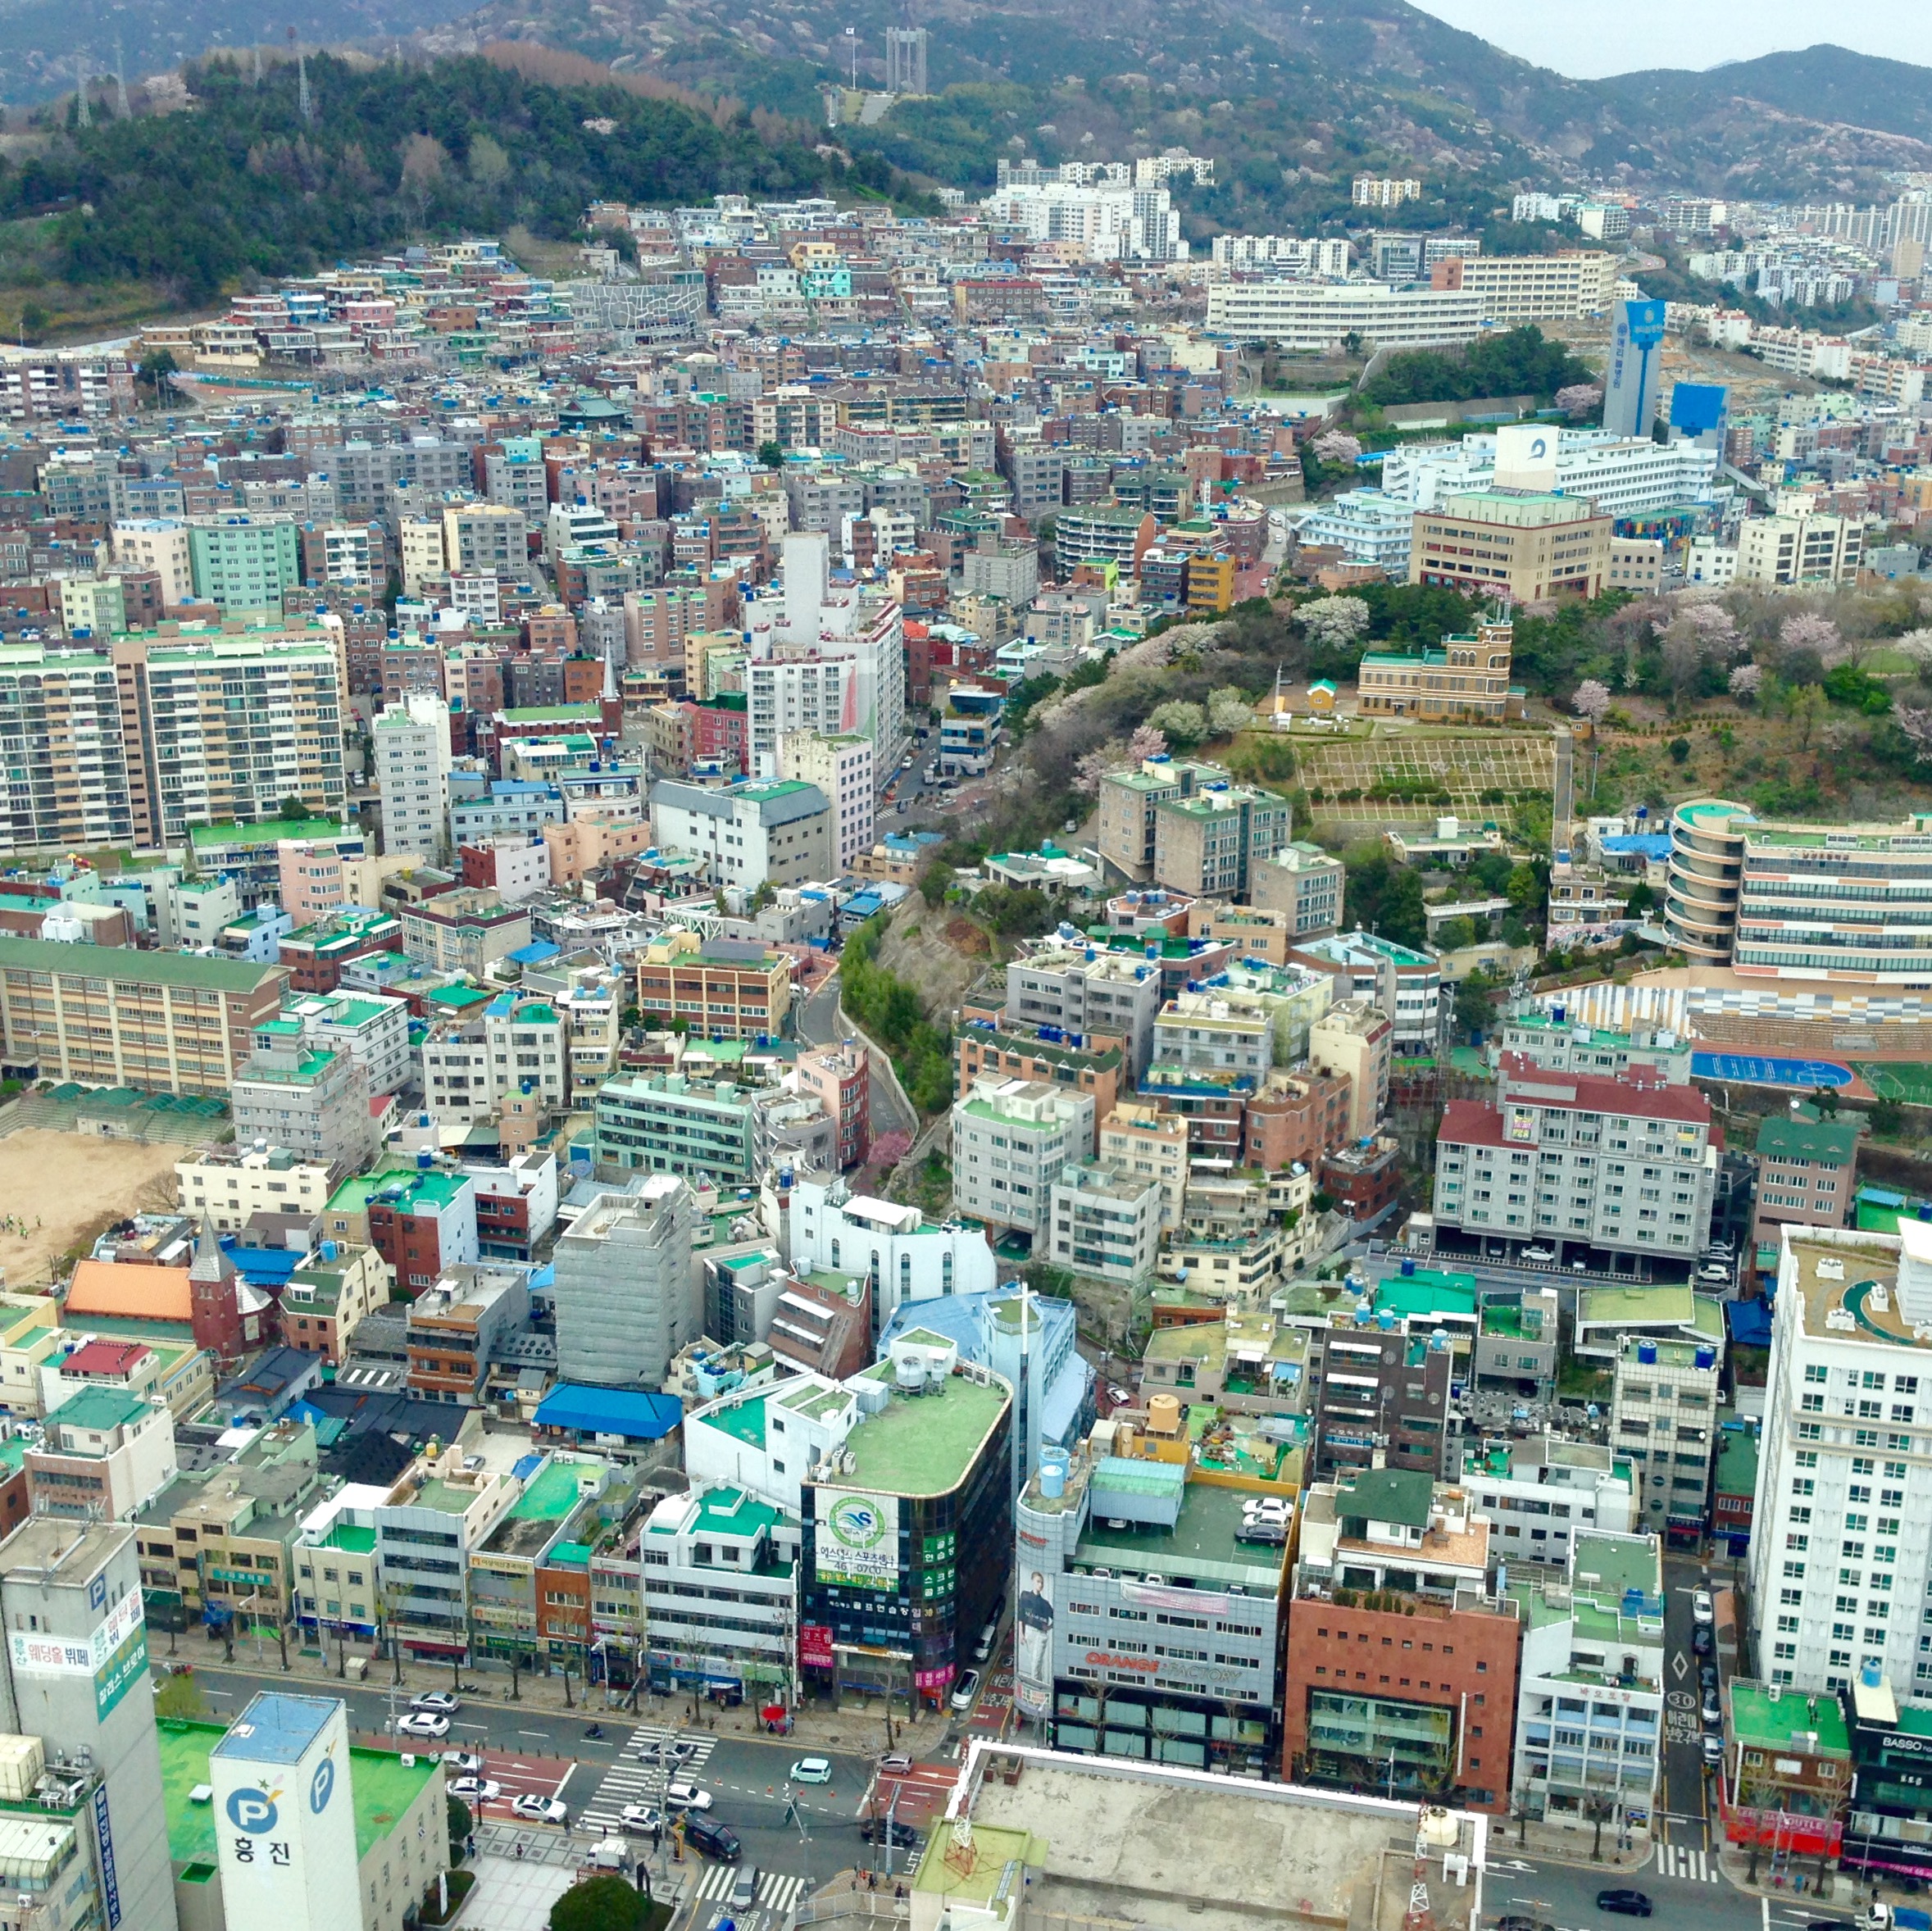
Now that we've made some friends, it's time to explore. But before we dive in, let's get a high-level overview of the city. Busan Tower is a must-visit spot, standing tall at 120 meters. From its top deck, you'll be treated to a panoramic view of Busan, encompassing the beautiful Gwangan Bridge. It's the perfect way to get your bearings and avoid getting lost!
Alright, it's time to relax and enjoy the natural wonders of Busan. Haeundae Beach is nothing short of extraordinary. The sight of the vast ocean will leave you breathless. And if you're in the mood for more attractions, there's Oryukdo Island, APEC Naru Park, and even an aquarium nearby. Need a break? Cozy up in one of the city's charming coffee shops, like TwoSome Place or Caffeine Gurunaru. And don't forget to indulge in some well-deserved relaxation at SpaLand Centum City – the world's largest department store!
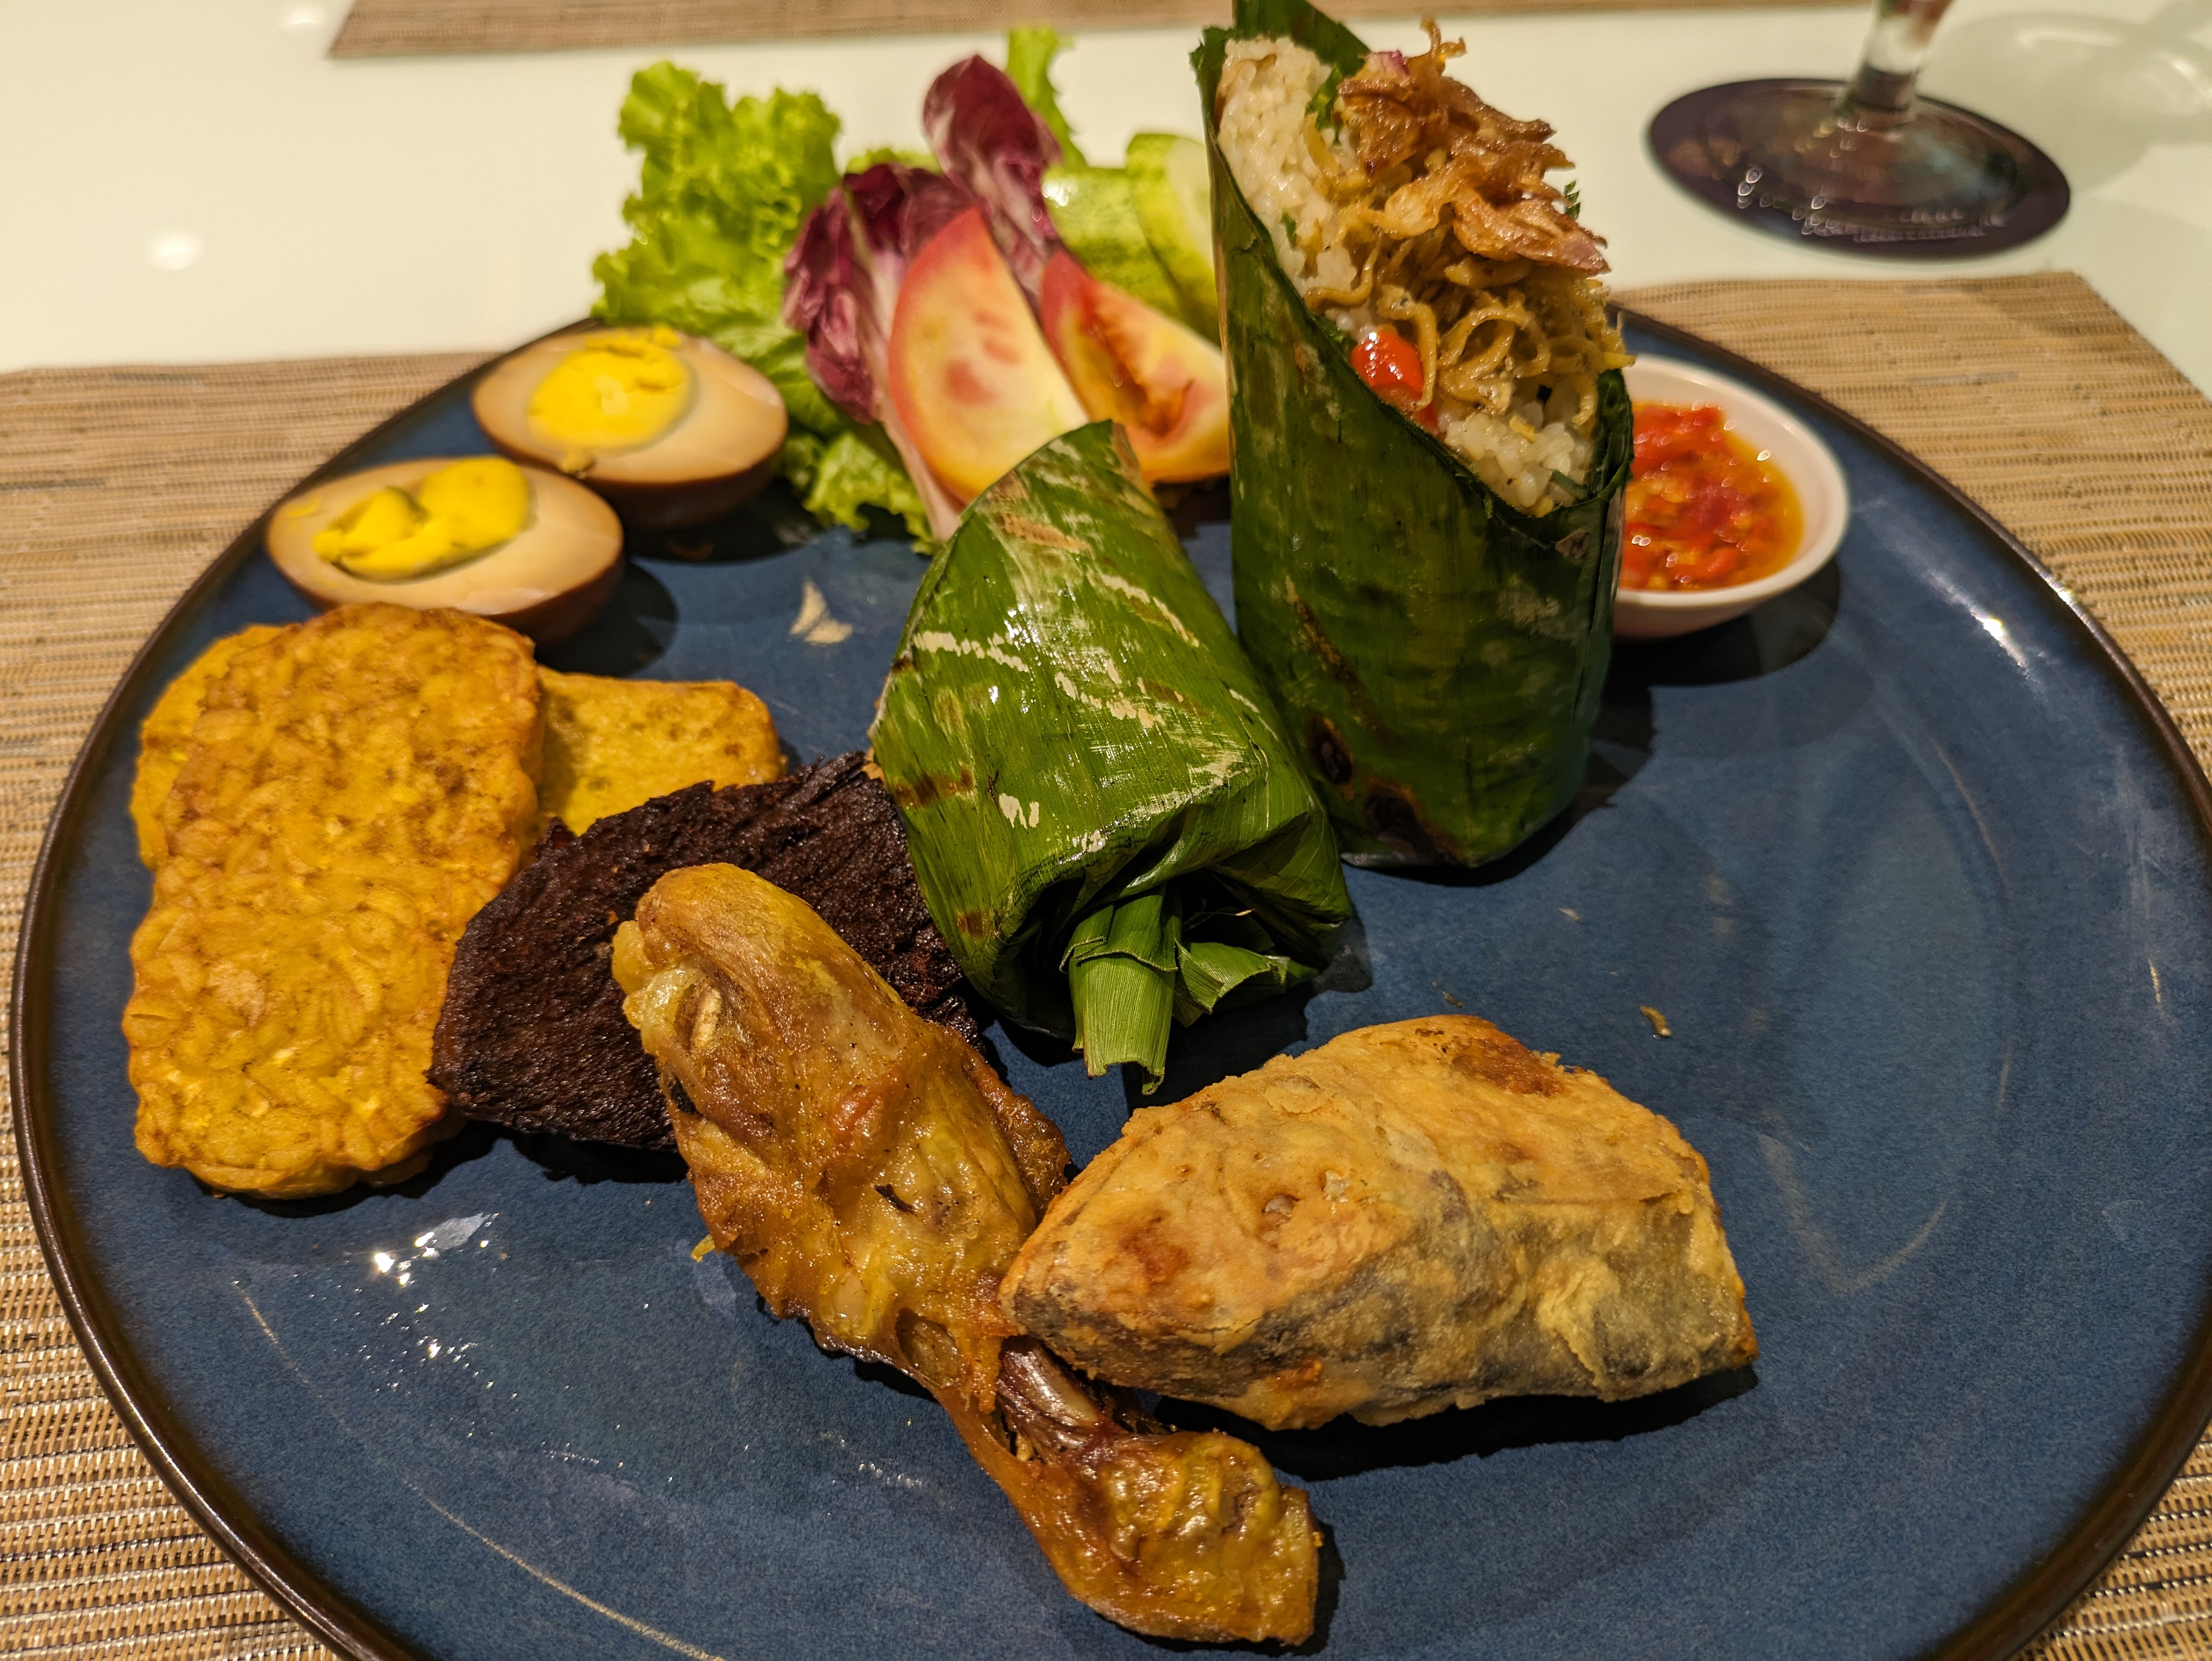
Now, let's talk about keeping an open mind. Busan's charm extends beyond its tourist spots. Take a stroll through the city's markets and experience the fusion of tradition and modernity. From delicious street food at the Busan International Film Festival (BIFF) square to underground shopping malls and bustling areas near Nampo station, there's something for everyone. And if you're a seafood lover, make sure to visit the Jagalchi Fish Market – a true seafood paradise!
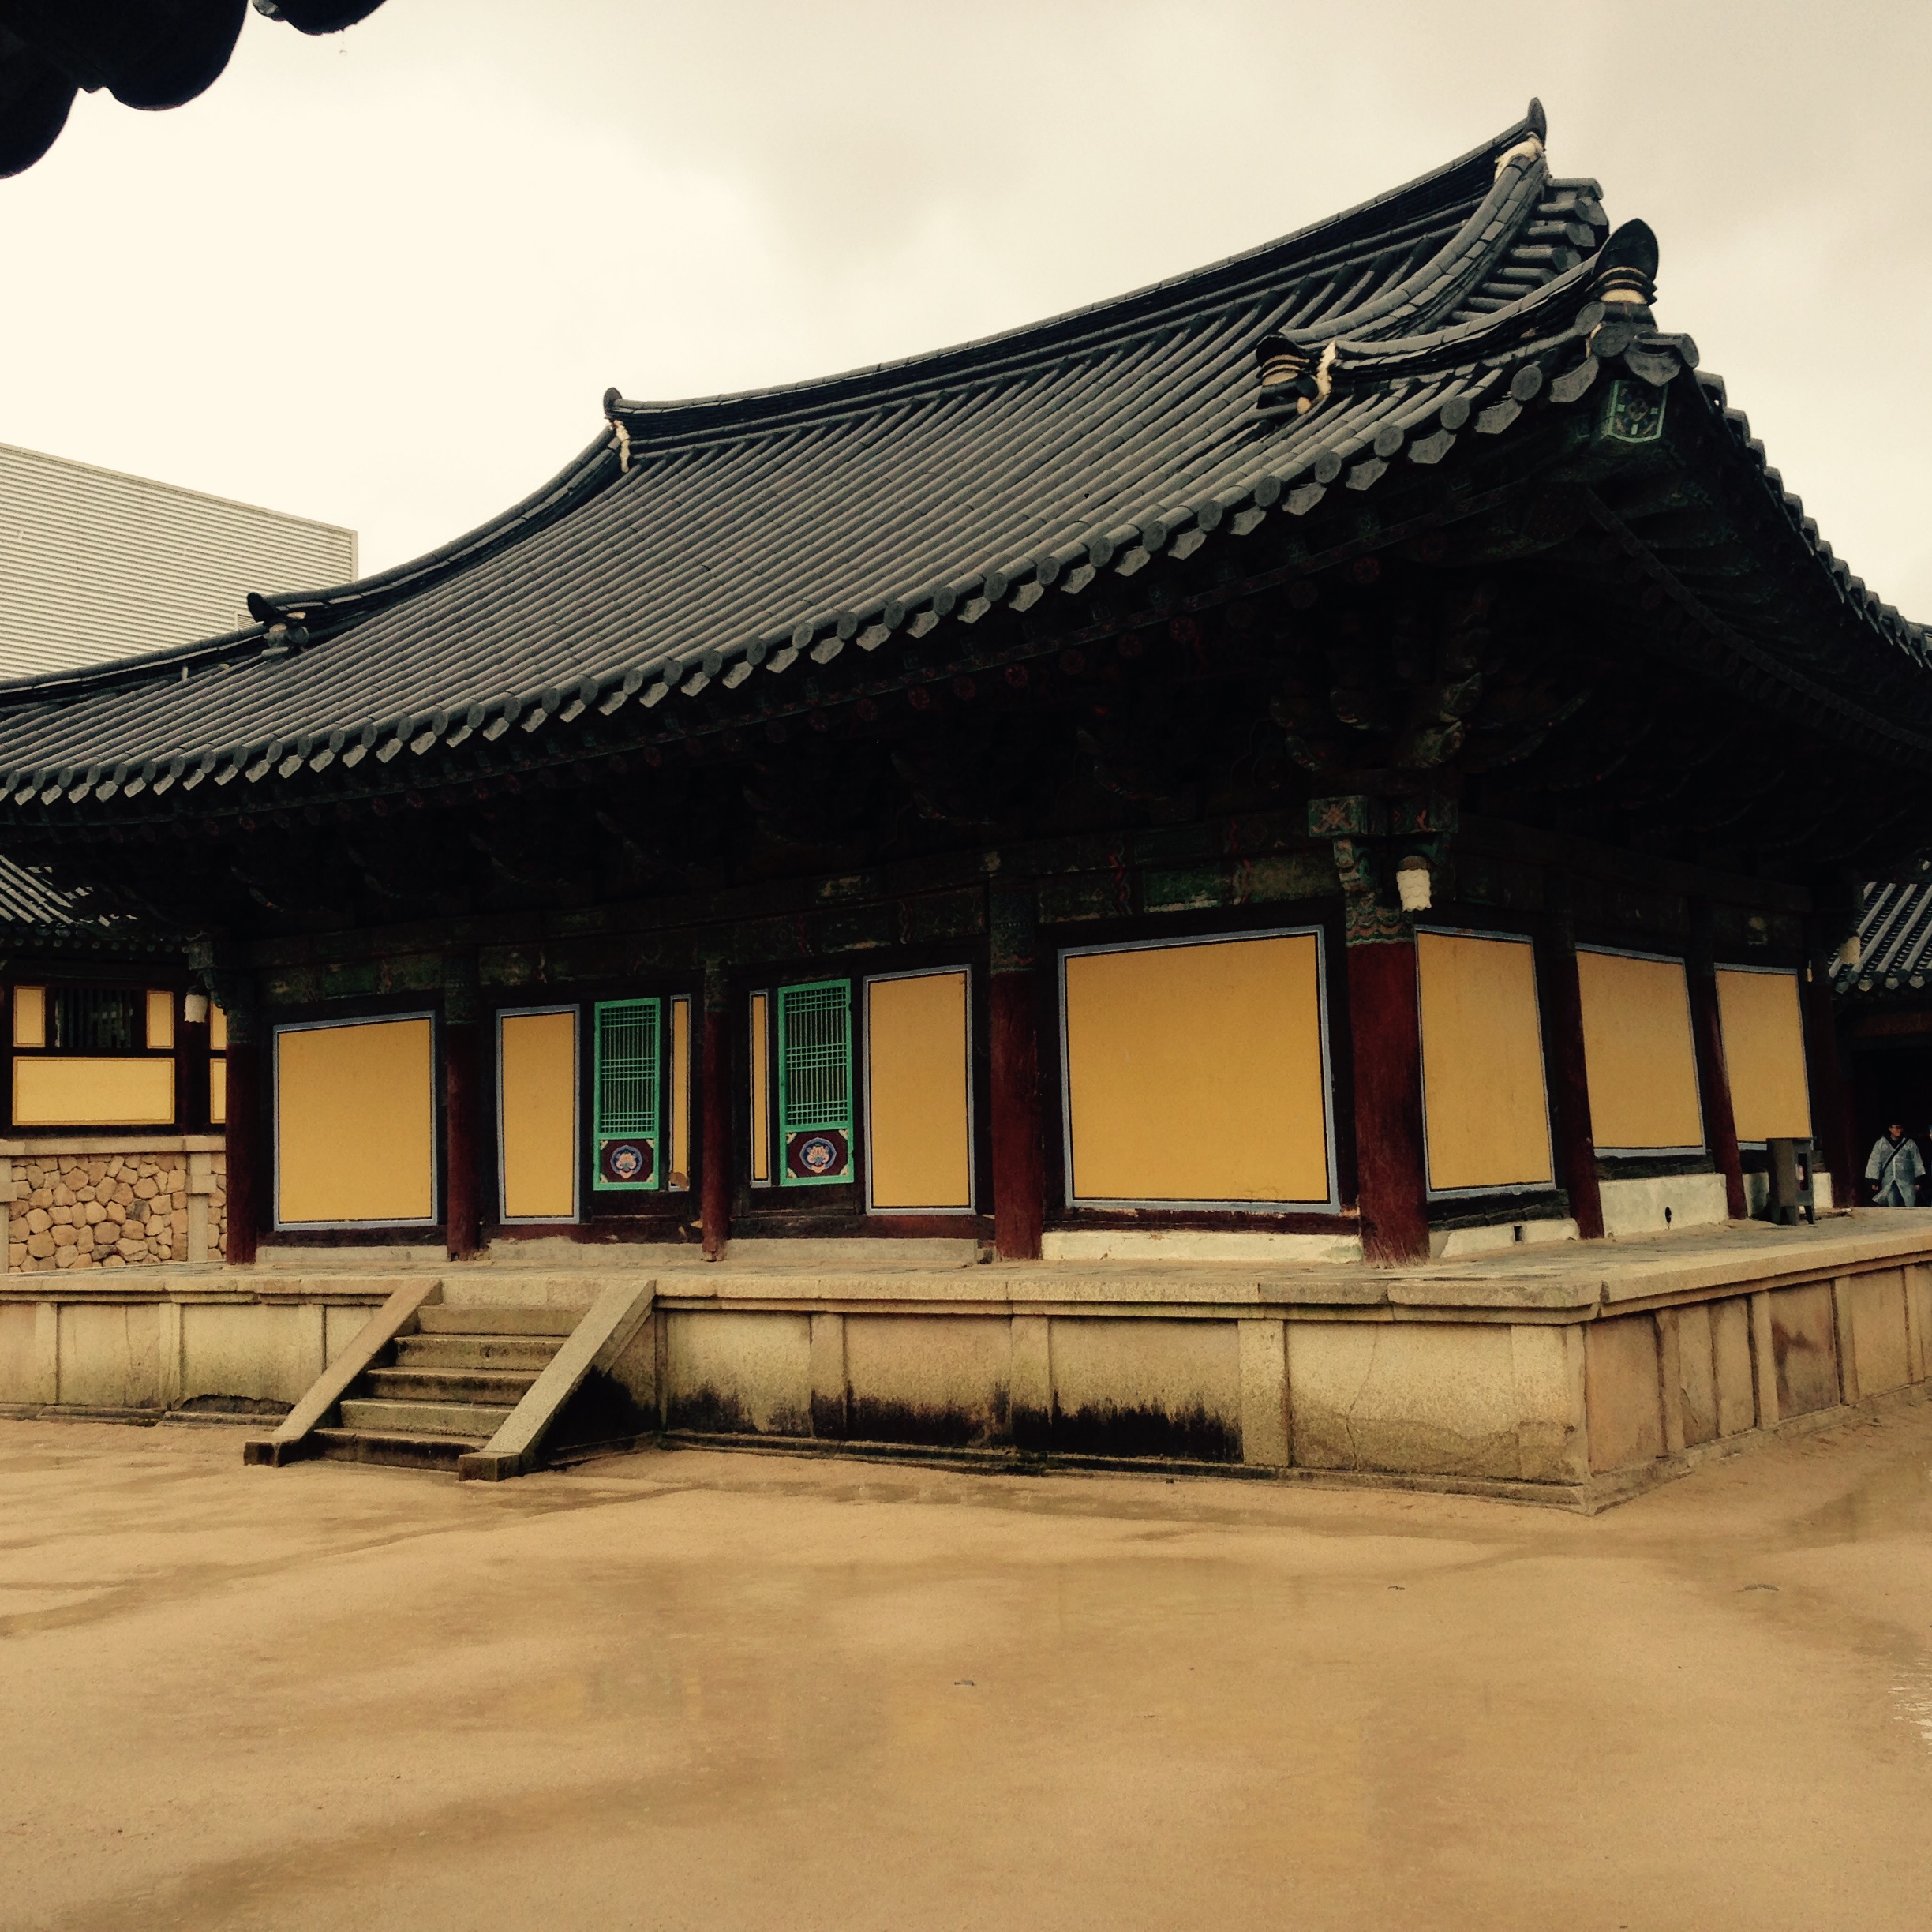
To truly immerse yourself in Korean culture, a visit to Gyeongju is essential. This historic city, located just north of Busan, was once the capital of the Silla dynasty. Discover the grassy tombs of ancient royalty and marvel at the magnificent Bulguksa Temple – a UNESCO World Heritage site. Trust me, your inner history buff will thank you!
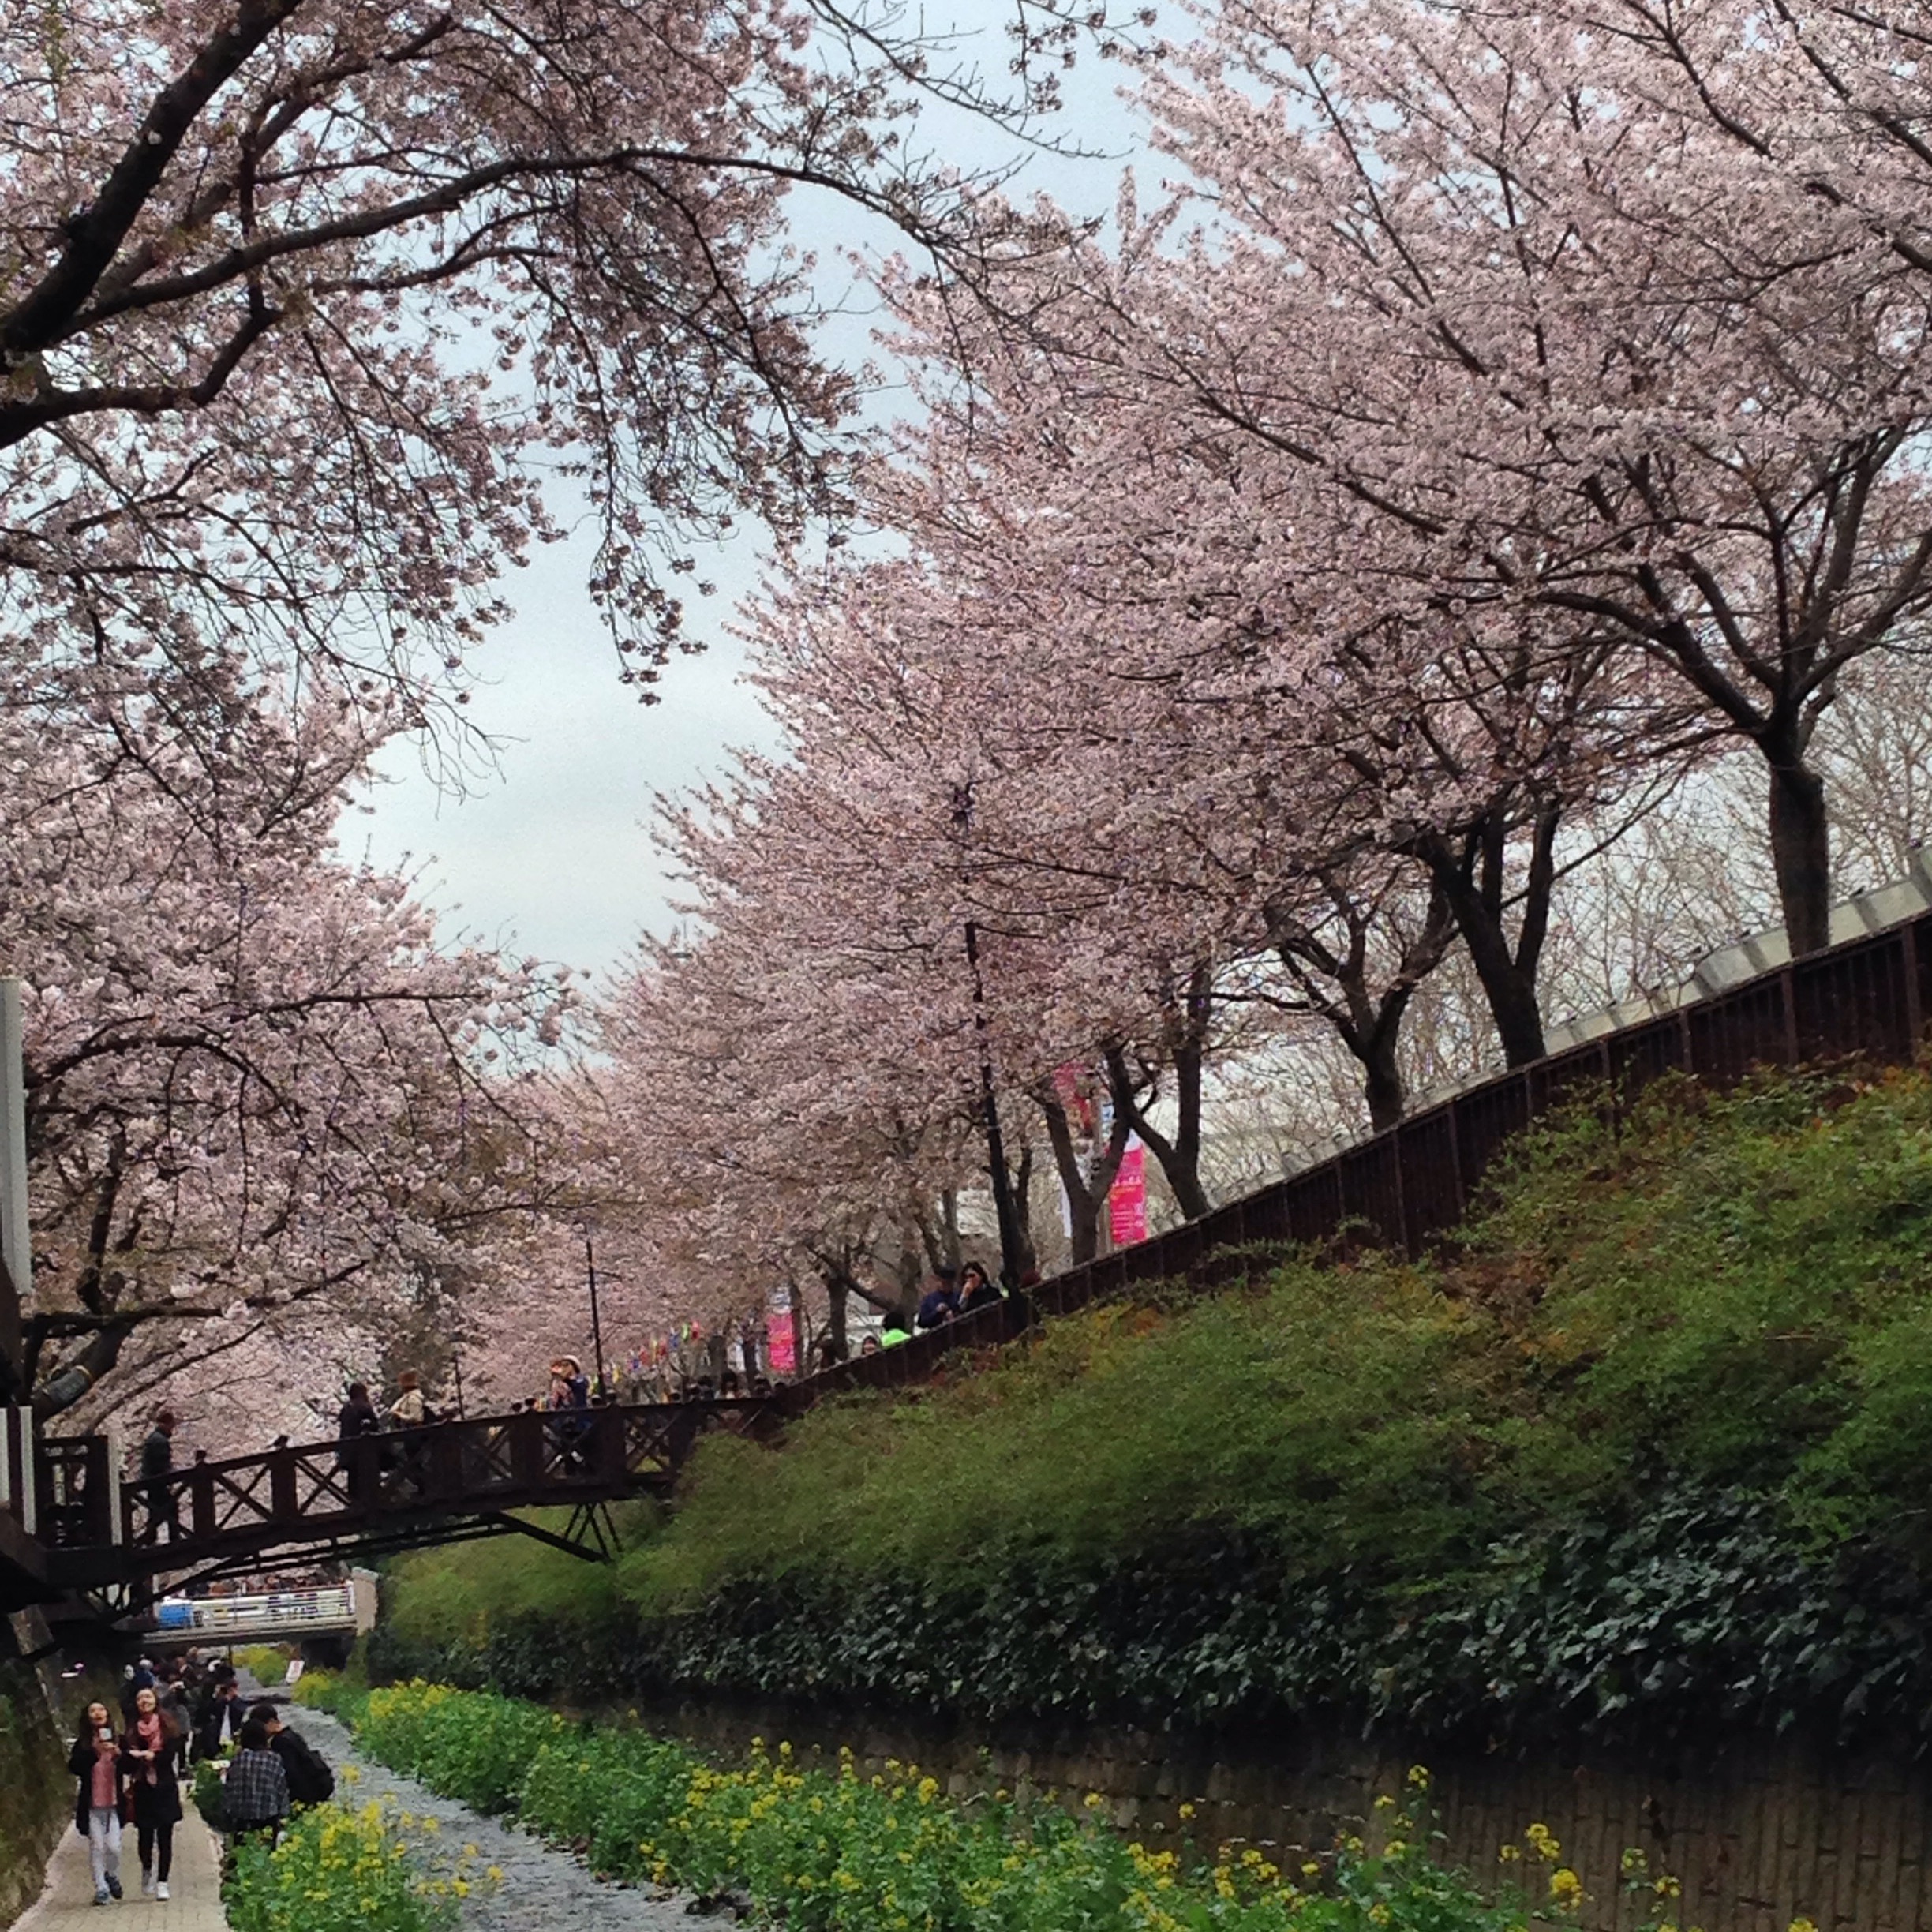
And last but certainly not least, let's not forget about the breathtaking cherry blossoms in Jinhae-gu. During the ten-day cherry blossom festival, you'll find yourself surrounded by 1.5 kilometers of blooming trees. Trust me when I say it's a scene straight out of a fairytale – a sight you won't want to miss.
Well, there you have it, folks! Our whirlwind tour of Busan comes to an end, but the memories and experiences will last a lifetime. I hope this episode has inspired you to pack your bags and explore this beautiful city. As always, don't forget to add me to your list of travel companions as I continue my own adventures.
Thank you for joining me on Continuous Improvement. Until next time, safe travels and remember: there's always room for continuous improvement in our lives!