My Memories in Brisbane

In 2013, I embarked on a working holiday in Australia that completely transformed my life. While studying chemistry as an undergraduate in Hong Kong, I had always dreamed of working abroad. However, opportunities for international exchange were limited. During a trip to Brisbane after finishing my last exam and before officially graduating, I worked as a volunteer at a tourist adventure center. This experience was enriching; I made new friends, hugged koalas, and spent quality time on the beach.
I remember sitting on the Gold Coast, basking in the sunshine, and contemplating the stark contrasts between life in Australia and Hong Kong. In Australia, people seemed to enjoy an enviable quality of life—lying on the beach, surfing, and living less stressful lives. Meanwhile, in Hong Kong, the fierce competition and cramped living conditions were constant stressors. I looked up at the sky, noticing how much bluer it was in Australia compared to Hong Kong.
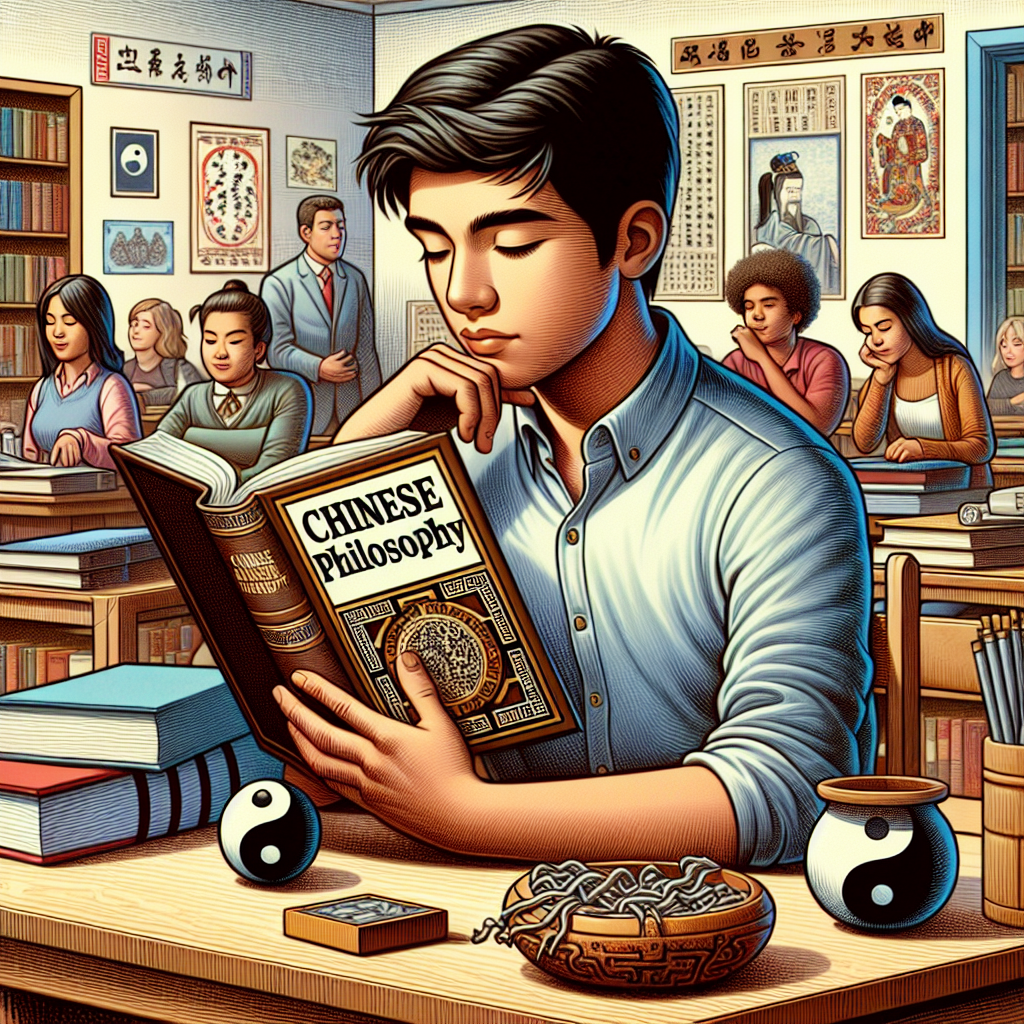
Tears trickled down my cheeks as I wondered why I didn't deserve such a beautiful environment. I thought of an old Chinese tale that describes the disparities in living conditions for mice born in different settings. Inspired by Guan Zhong, who migrated for a better life and eventually became a successful chancellor, I decided to stay in Australia. Shortly after my internship, I was fortunate to receive a long-term job offer.
Upon returning briefly to Hong Kong, I secured my first full-time job as a test engineer at a German laboratory. Although my coworkers were pleasant, the work was monotonous and demanding. My duties included cutting plastic cups into standardized sizes, immersing them in various acidic solutions, and conducting multiple chemical tests. It was a tedious job with limited growth opportunities. Consequently, I resigned a few months later and decided to return to Brisbane, accepting a new role as an Assistant Marketing Manager.
My new job was demanding but fulfilling. Although my responsibilities ranged from social media marketing to janitorial tasks, I found it more satisfying than my previous role. I was lucky to live with a welcoming host family, Lindsey and Elisabeth Timms, who offered me affordable accommodation. I developed close relationships with other guests, including Japanese students learning English. My workplace was situated in Brisbane's city center, adjacent to the Brisbane River, and offered various activities like kayaking, rock climbing, and paddleboarding.
One unforgettable experience was working on New Year's Eve. While others celebrated, I was busy moving alcohol from the fridge to the venue and cleaning up after the event. It was a physically demanding and sometimes unpleasant job, but it gave me a sense of responsibility and purpose.
In addition to my regular duties, I handled a large market of Chinese visitors and local Chinese students, leveraging my fluency in Cantonese, Mandarin, and English. I also participated in the production of tourist programs in Brisbane and enjoyed being a kayaking instructor. Even though the work was hard, especially when it involved multitasking across various roles, it was far more enjoyable than my previous job.
Through this experience, I enhanced the organization's online presence and grew our Twitter followership to 10,000, making our account the number one tourist destination on the platform. Though some tactics may be considered outdated now, they were highly effective at that time. My role made me realize that digital marketing was an area I wanted to explore further, setting the stage for my subsequent career as a website developer.
And so, the story continues in the next chapter.