A Love Not Meant for Me
Welcome, listeners, to another episode of Continuous Improvement. I'm your host, Victor, and today we have a very personal story to share. It's a tale of love, dreams, and the pursuit of self-discovery across cultures. So sit back and prepare to be inspired.
It was a fateful evening, years ago, in a small bar where our story begins. I was 28 years old, and she was a captivating woman, likely a few years older than me. Her name was Kim, and she emerged as my most stunning companion. Her South Korean origins and our shared love for travel connected us instantly.
Kim and I embarked on a journey together, exploring the wonders of Hong Kong, indulging in exquisite cuisines, and exchanging tales from our pasts. In her native tongue, she affectionately called me "Oppa," while I referred to her as "Noona," much to her chagrin. We were both fascinated by the cultural nuances and traditions that shaped our identities.
But as our bond grew stronger, Kim asked me a life-altering question. She was moving to a new city and invited me to join her on this new chapter. As I pondered my career and the consequences of such a decision, we communicated fervently through messages, bridging the language barrier between us.
As time passed, we yearned to be together, yet we realized the challenges we faced. Our priorities clashed with the reality of our lives. I struggled with leaving behind my career and the expectations of my family and friends. And then, during a magical moment on New Year's Eve in Sydney, she made a difficult decision. She believed she needed a more mature, financially stable partner, someone older than her.
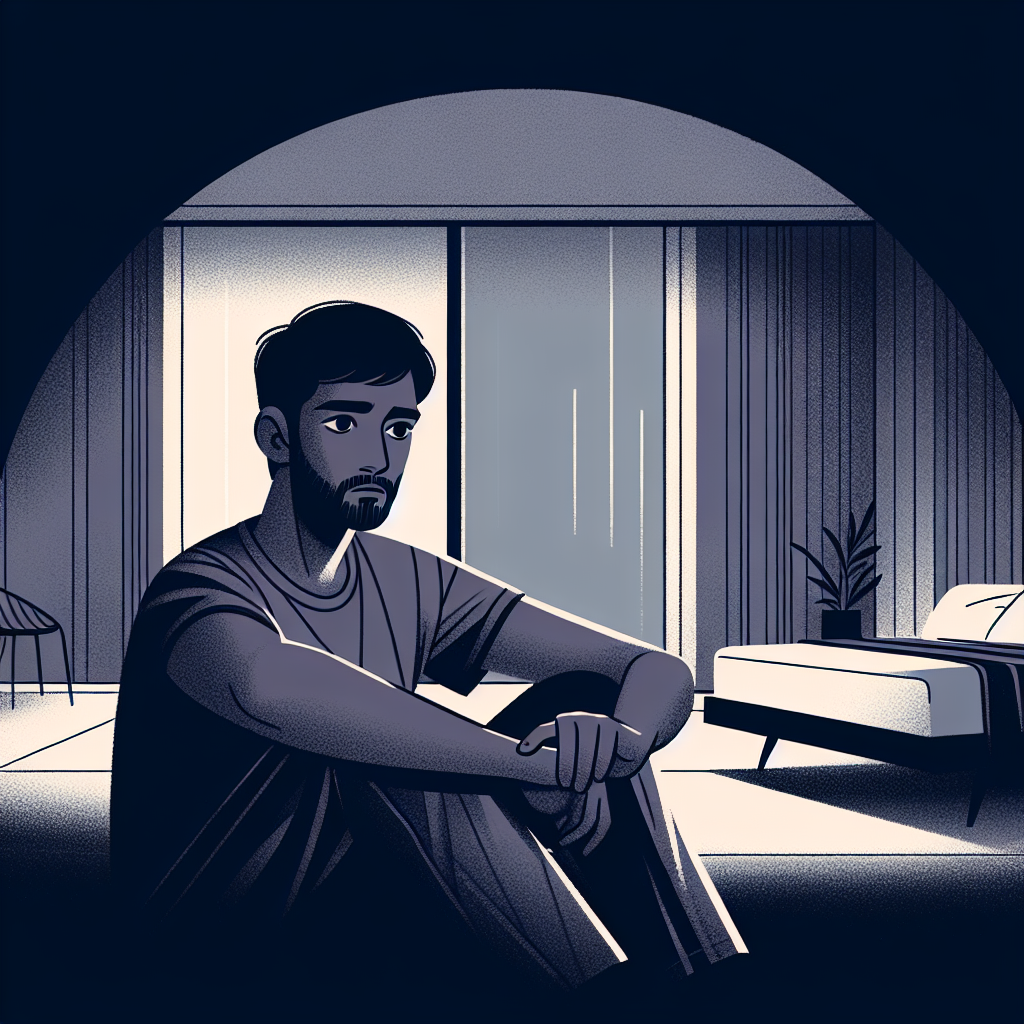
I could have pleaded for her to stay, but I chose a different path—one of maturity and acceptance. I respected her decision, understanding that my journey would continue with or without her. I had the capacity to look after myself and thrive in solo exploration. But I couldn't help but wonder about the beautiful adventures we could have shared.
The destinations we visited may fade from memory, but the imprint of my beautiful journey's companion remains etched in my heart. She taught me valuable lessons about self-discovery and learning to relinquish control when paths diverge.
And thus, dear listeners, I share this story with you today to reflect on the complexities of relationships, the power of acceptance, and the personal growth that emerges from life's unexpected turns.
Thank you for joining me on this emotional journey. Remember, life is an ever-evolving process of continuous improvement. Until next time, keep growing, learning, and embracing the beauty of the human experience.
This is Victor, signing off.